The Handmade Corset Update #3

It's a bit unfair because in this photo the corset looks like it's laying flat - but it's truly not! I promise. I am so excited at how similar this feels and sits to the ones I have studied in the Museums. It's a first attempt at the techniques but I couldn't be happier. Yes there's messy stitching and lines that I wish I'd done differently and tabs that don't echo the pattern but, and it's a big BUT. I feel like I've jumped miles forward in my research.
This is a photo of the stage where all the panels have been joined together. Each join will be covered with a silk ribbon and the tops trimmed with a soft skin and then the whole thing lined to finish it off, but the next stage is eyeleting the CB panels and then lacing it to my mannequin and giving it a good steam.
My hope is that this will soften some of the joins and mould the corset into a better shape.
Here's a photo of the underside - I am a little ashamed at how much extra pad stitching I had to do to pull it in, but....

And here's a photo of a close up of the CF and some of the stitching detail.
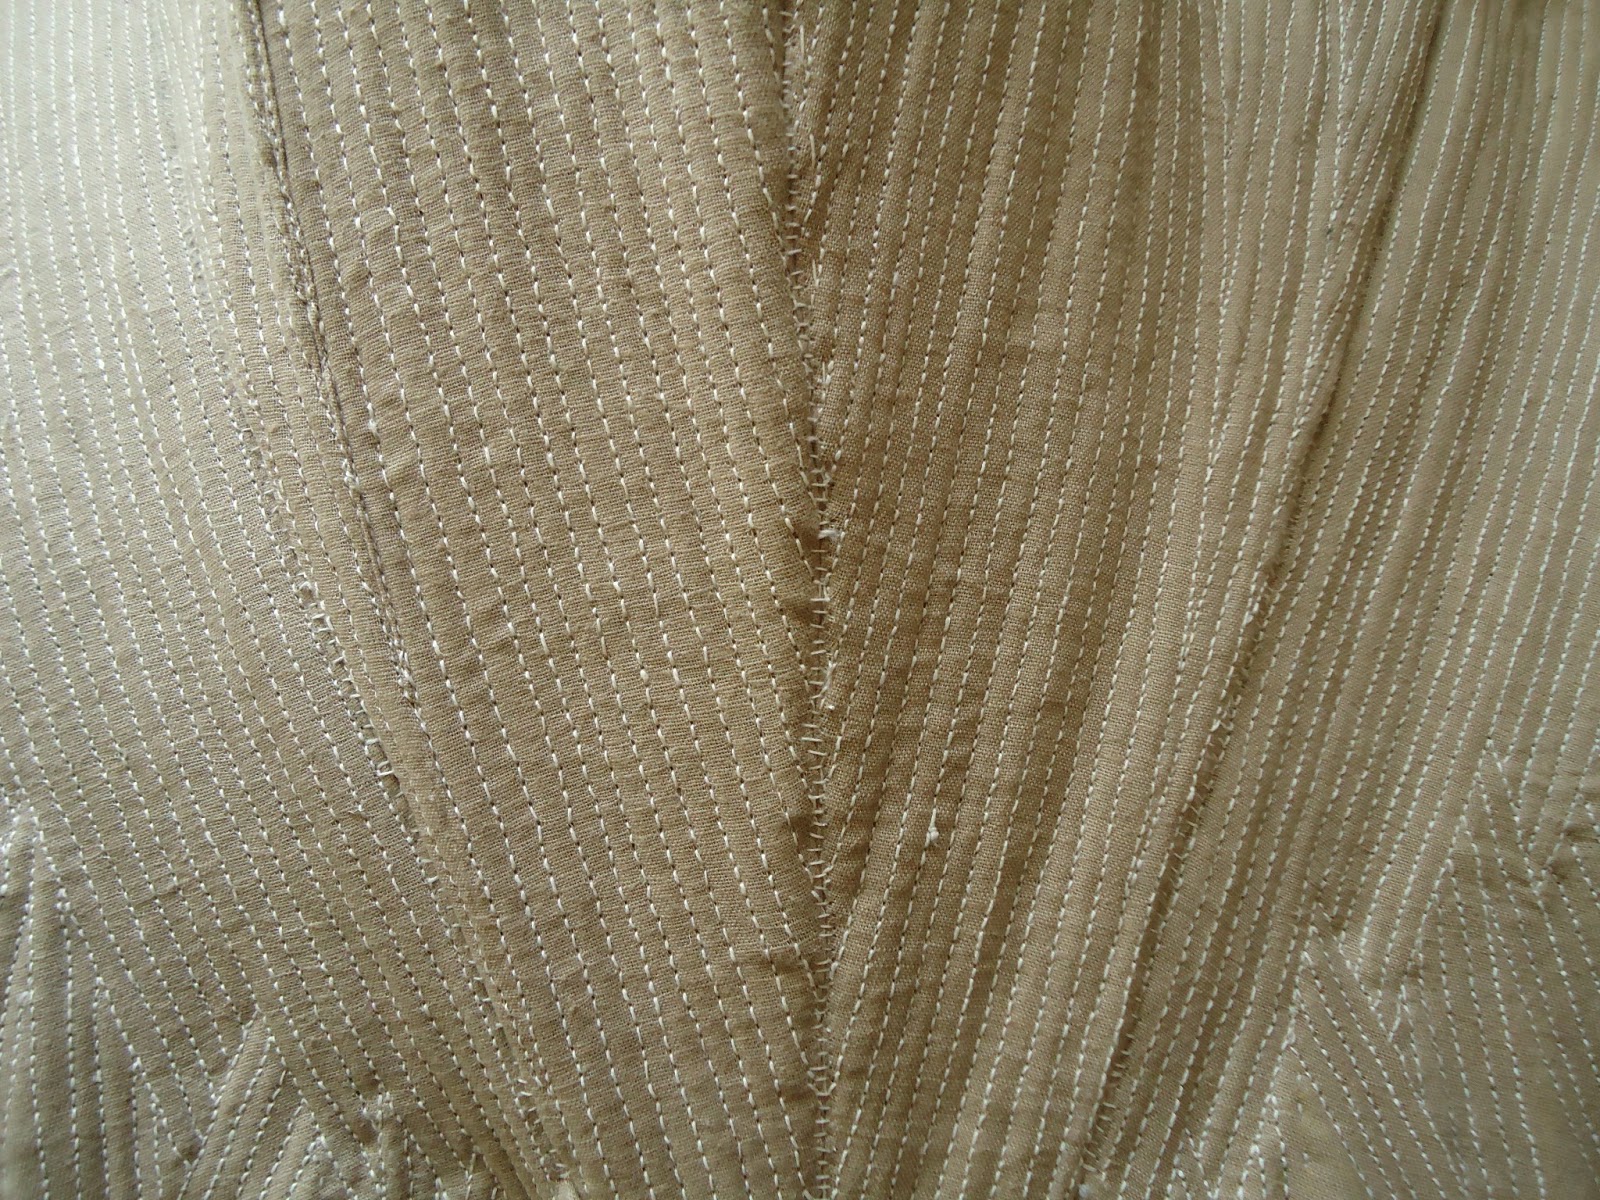
You can see from this image some of the clumsiness of the bone work along the CF line and where it's been whipped together. I'm hoping to get better at this technique. Not all of the panels have such angled boning lines so some have turned out much smoother and neater, but I'm sure practise will make perfect and a technique will be discovered.
Thanks for looking and I'll be updating the steaming stage next along with the eyelets.
It's really coming on leaps and bounds now, after months of just hand stitching all the boning in.
No comments:
Post a Comment